After dabbling with chalk paint on a few of my own personal furniture pieces, I was very excited to search for some treasures in my first garage sale adventure. At my very first stop, I found an adorable, vintage (mid 1900’s), child’s roll-top desk and matching chair. I couldn’t believe they were getting rid of it! I asked for some history on the piece. The seller informed me that it belonged to his grandfather, and that he had used it as a kid. Since his grandfather was in the military, the little desk had moved around a lot but seemed to be in great shape, considering. According to the seller, the desk had belonged to his grandfather while he was in the military. Stickers reading “Beverly Hills”…and several other cities where he had been stationed lined the back panel. It was apparent by the wear and tear that this desk was as well-traveled as its owner. I couldn’t leave it sitting there, and was able to talk him into giving it to me for $20. Such a steal!
After bringing it home, I couldn’t wait to get my hands on it, but once I really took a look at it, I thought “what now”? This was my first real attempt at renovating a furniture piece that wasn’t already in great condition. I’m no expert, and definitely not a craftsman (craftswoman ☺). I figured, “how hard can it be? It is just a little desk.” It definitely had its challenges, from trying to remove the back without breaking it, to having to take the roll top off and completely re-doing it from scratch. I was so excited for the challenge! Once I carefully removed the back panel, a lot of kid’s Lion King playing cards, colored pencils and other dated trinkets came falling out. I couldn’t help but stop to examine the history that I had just stumbled upon, which only enhanced my new found love for this piece.
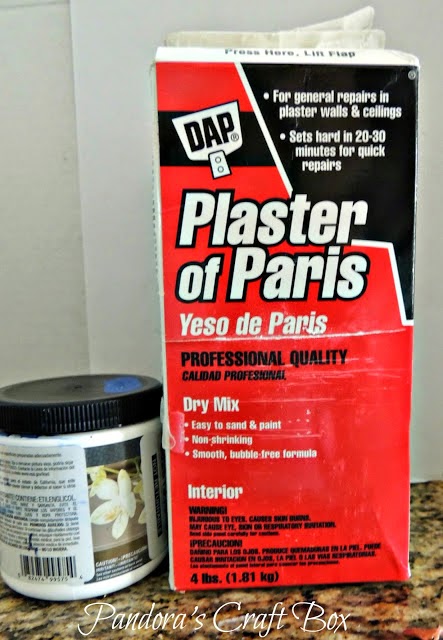
I cleaned all the YEARS worth of dust off the desk and started painting. From the moment I first saw the desk, I pictured an old red school house, and just went with it. I picked a sample of Behr’s Firecracker red color from Home Depot and created my own chalk paint using the following recipe:
1/3 cup of Plaster of Paris
1/3 cup of water
1/3 cup of water
1 cup of Paint
The sample size was enough to paint two coats on the desk with a little bit left over for any touch ups. I really liked the bright red color since it made the piece pop!
Once the paint dried, I did a little distressing all over for a bit of an aged look; it IS old, after all. I then cleaned all the dust off, and waxed the entire piece with my own dark wax recipe:
2 Tbs Minwax Paste Finishing Wax
2 Tbs of Minwax Wood Finish Dark Walnut #2716 stain
I mixed it together on a paper plate until well blended. You can always add more stain for a deeper wax color, or start off with just 1Tbs, adding more to get just the color to suit you. I wiped off the wax and let it cure over night. When I got up the next morning, I was SO excited! I put the desk back together and couldn’t wait to share it with everyone! Isn’t it cute? So proud of my finished project—I keep thinking that the grandfather would also be happy to see his treasure renovated and being put to good use.
Thanks for stopping by!
Debbie


Love, love, love this transformation!! Wish I was brave enough to refinish furniture. (I should just have you do it for me :) )
ReplyDeleteGreat first post, Deb!
--Elena